How to install Rebounds via Google Tag Manager
Step 1: Copy the Rebounds tracking code
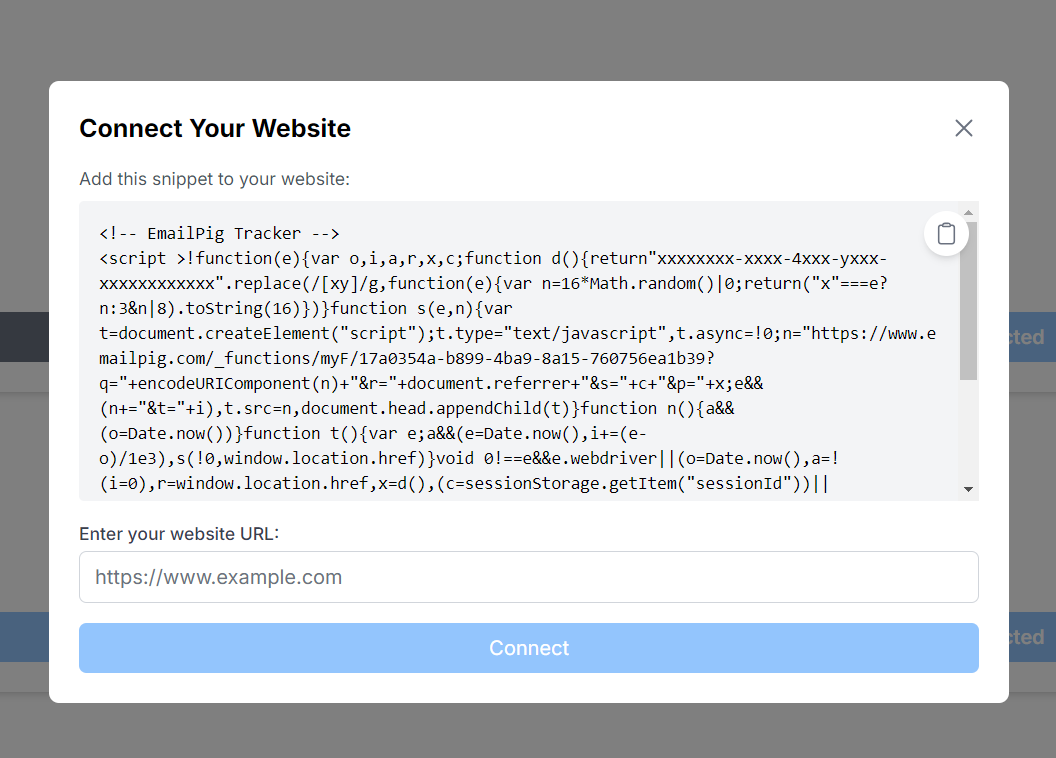
Copy the Rebounds trackingcode from the portal. You can find the code under Integrations.
Step 2: Go to your Google Tag Manager Container
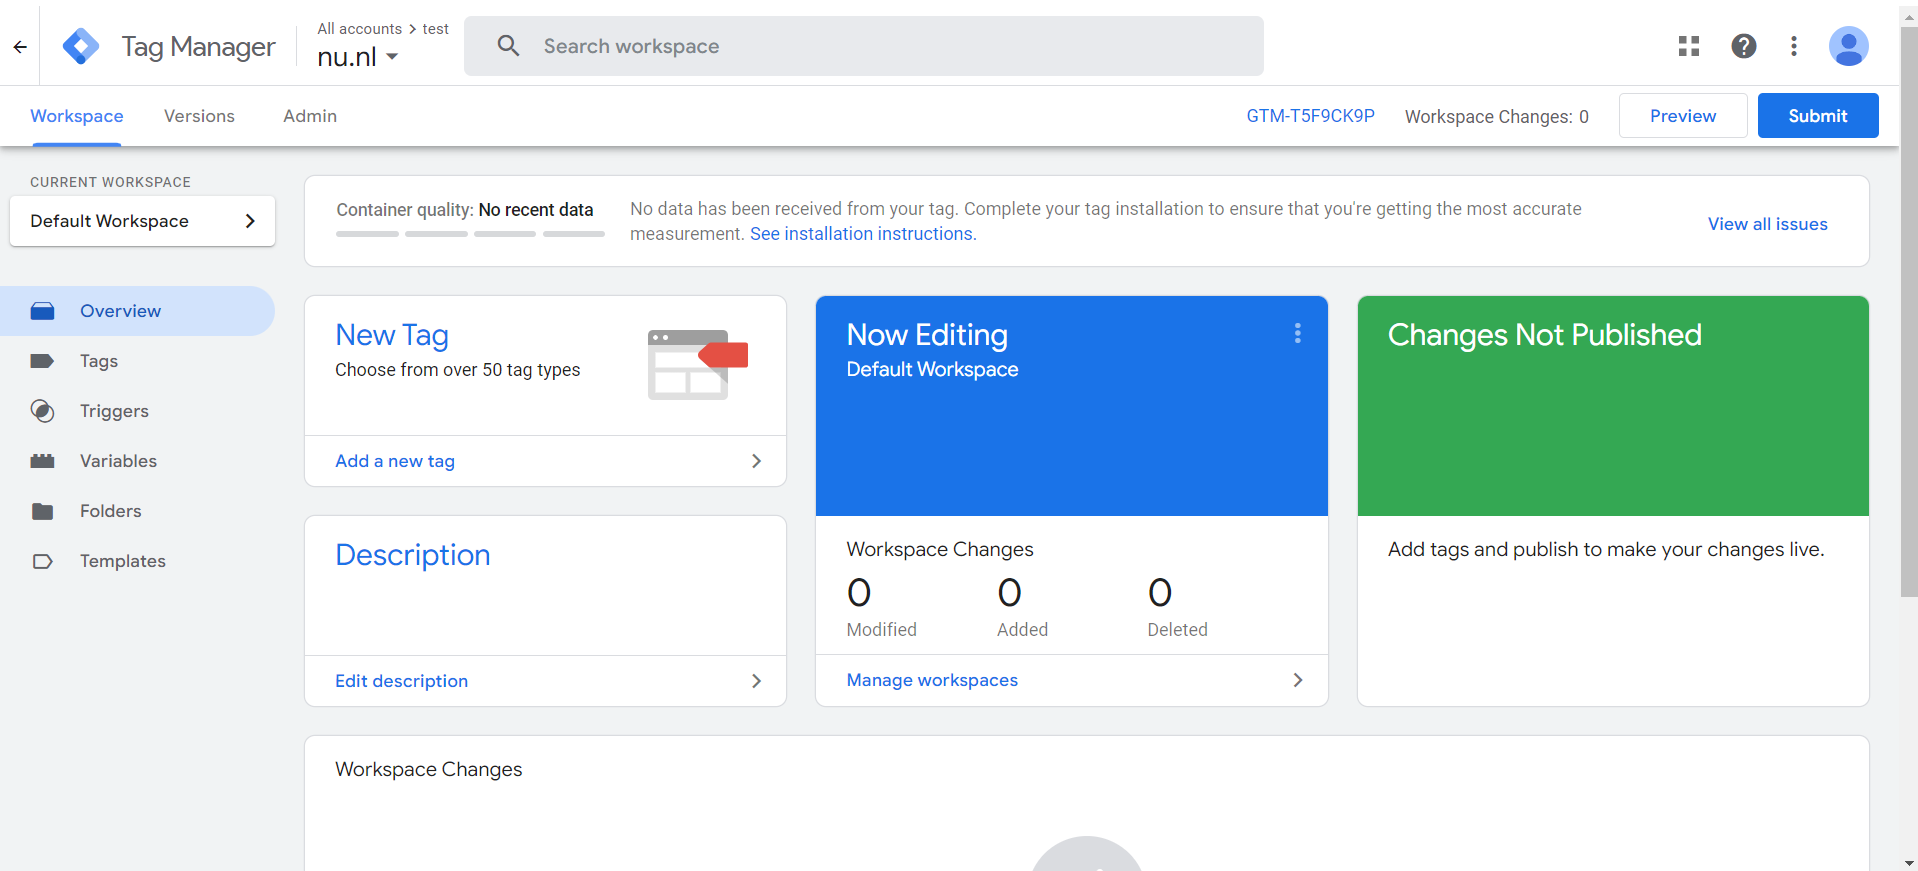
Head to your Google Tag Manager account and select the right container you want to work in.
Have multiple containers and don't know which to choose? Contact our team via kick@rebounds.ai

Step 3: Set up a Rebounds tag within Google Tag Manager
In your container, click in the left side menu on Tags
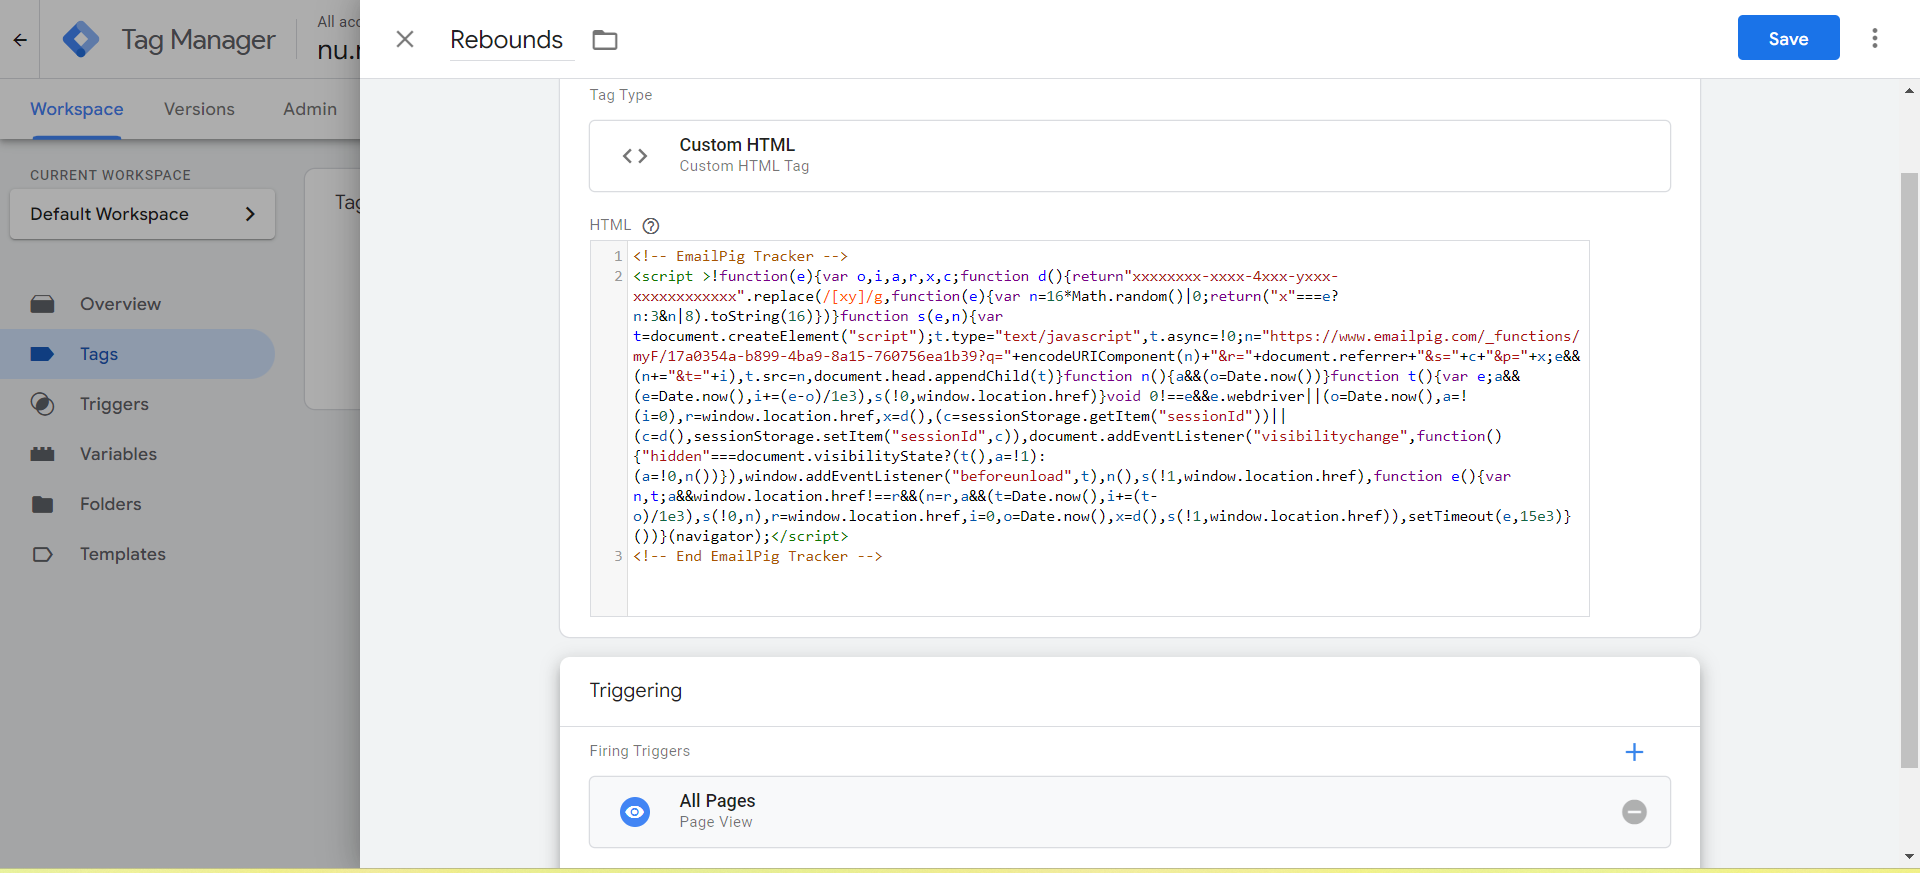
Create a new tag by clicking New in the top right corner. Give your tag a unique name - e.g. Rebounds Tag. Click on Tag Configuration and select from the list of tags Custom HTML. Here you can paste the copied code from step 1.
Step 4: Add an "All pages" trigger to your tag
To make sure your tag will be activated, you need to add a trigger. Select the All Pages trigger when you want Rebounds to be available on all pages on your website. If you only want Rebounds to be active on selected pages, you need to create a custom trigger. Don't forget to save the changes you've made.
Step 5: Publish the latest version
Now you are almost ready to identify the companies on your website. The last step is to publish the latest version. Click Submit in the top right corner and publish your changes.
